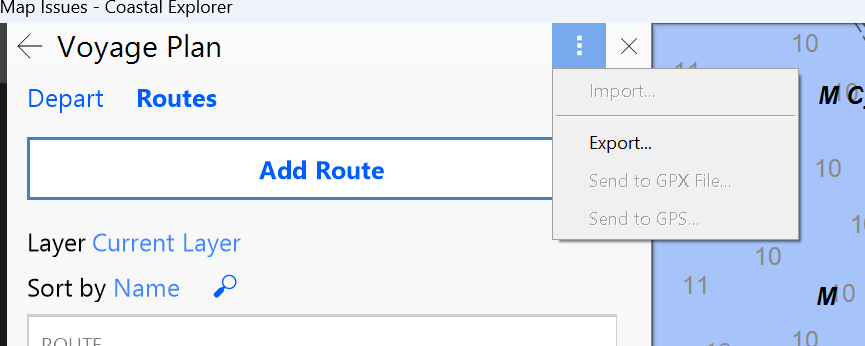
I feel like I am missing something, since the only way I have figured out to import .gpx routes seems unnecessarily complicated.
Coastal Explorer on windows.
I have a .gpx route file saved on my PC.
From CE, I choose layers & Click IMPORT, browse to the .gpx file and select it.
The import process creates a new layer, named based on the file name of the .GPX file.
That new layer is a local file, NOT a cloud sync layer.
To get that imported route into its own cloud sync layer, I have to create a new layer using the NEW LAYER button. Then Activate that layer and activate the layer that was created by the import process.
Then go find the route shown on the chart- right click on the route, go to the bottom of the menu and chose “move to layer…”
The go back to layers, choose the now empty layer that was created by the import process and delete it.
Is really there no way to import a .GPX file directly into a cloud snyc layer?
